Hi Everybody!
Today I'm discussing quite a 'big' project I've been working on: the staircase that leads to Jane's attic.
Considering that the attic is a 'stand alone' project of sorts, with no rooms underneath it, at least for now, adding a staircase seems rather redundant. I could have settled for a much more simple solution, like leaving it staircase out altogether. But, as always, I don't like to opt for 'shortcuts', preferring instead to invest time and effort in something that may not even be seen. So I went for the stairs, and to be honest, I'm pretty sure I'll end up using them in attic photo shoots and stories anyway!
The first thing I got my hands on was the banister at the top of the stairs. Since I wanted the posts to be stuck firmly to the floor, I glued wooden slats around the opening of the staircase, then drilled holes to stick the posts in and glued them as well.
The main posts got extra attention as well, to ensure a sturdier adhesion to the floor. To this end, I drilled holes in the floor and placed pins underneath them.
The below two images show the end result. Note that the railing was painted in two colors to give it that extra 'touch'.
Now, the banister was the relatively 'easy' part of the project. Once completed, the next step was to start working on the stairs. I had never done anything like it, so it was a lot of trial and error involved. Below is how the stairs looked originally.
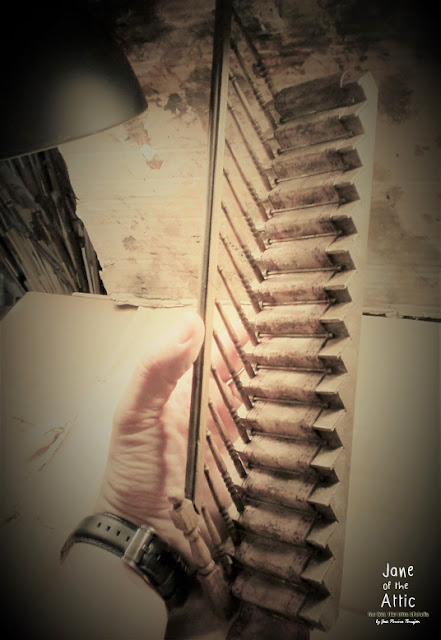
I glued the parts together, applied some layers of English wax to them, and went on to attach the rods that would hold the stair tapestry in place, then weathered them.
Those rods were a bit of a pain in the eye to do, and quite time consuming. But, as is always the case when one finally completes such a tedious task, the results make one feel like it was totally worth the effort!
The tapestry was subsequently applied. Note that there was no glue used in the process. The carpet was carefully slid under the rods that keep it in place. This gives the stairs a more genuine appearance, as the carpet looks somewhat 'loose' here and there, which it actually is!
Then came the placing of the posts, and the weathering of the carpet, which for me is the part that is most fun! Below is a selection of images showing the final result.
All
things considered, this project turned out pretty well. It was a hell
of a job to do, but the result is quite satisfactory. I mean, wow, I completed my first staircase!
A big thanks goes to Rebecca Micallef again, for guiding me through the process with her invaluable help and advice!
Thanks for visiting, and see you next time!
© José Pereira Torrejón. All rights reserved. No part of the content of this blog may be distributed, published or reproduced without prior authorization from the author.


You did ana amzing job on the staircase José. Every step had its own challenge but you overcame each hurdle and succeeded to perfection. Well done on your first staircase. I am so proud of you.
ReplyDeleteThanks Rebecca! Yet it was also thanks to your advice and support that I managed to carry this through! :)
DeleteYour attention to the minute details of wear and tear are Impressive! Love the stairs and the runner which you have aged and trashed into Reality! :D
ReplyDeleteThank you, Elizabeth, always trying to do my best! :)
Delete